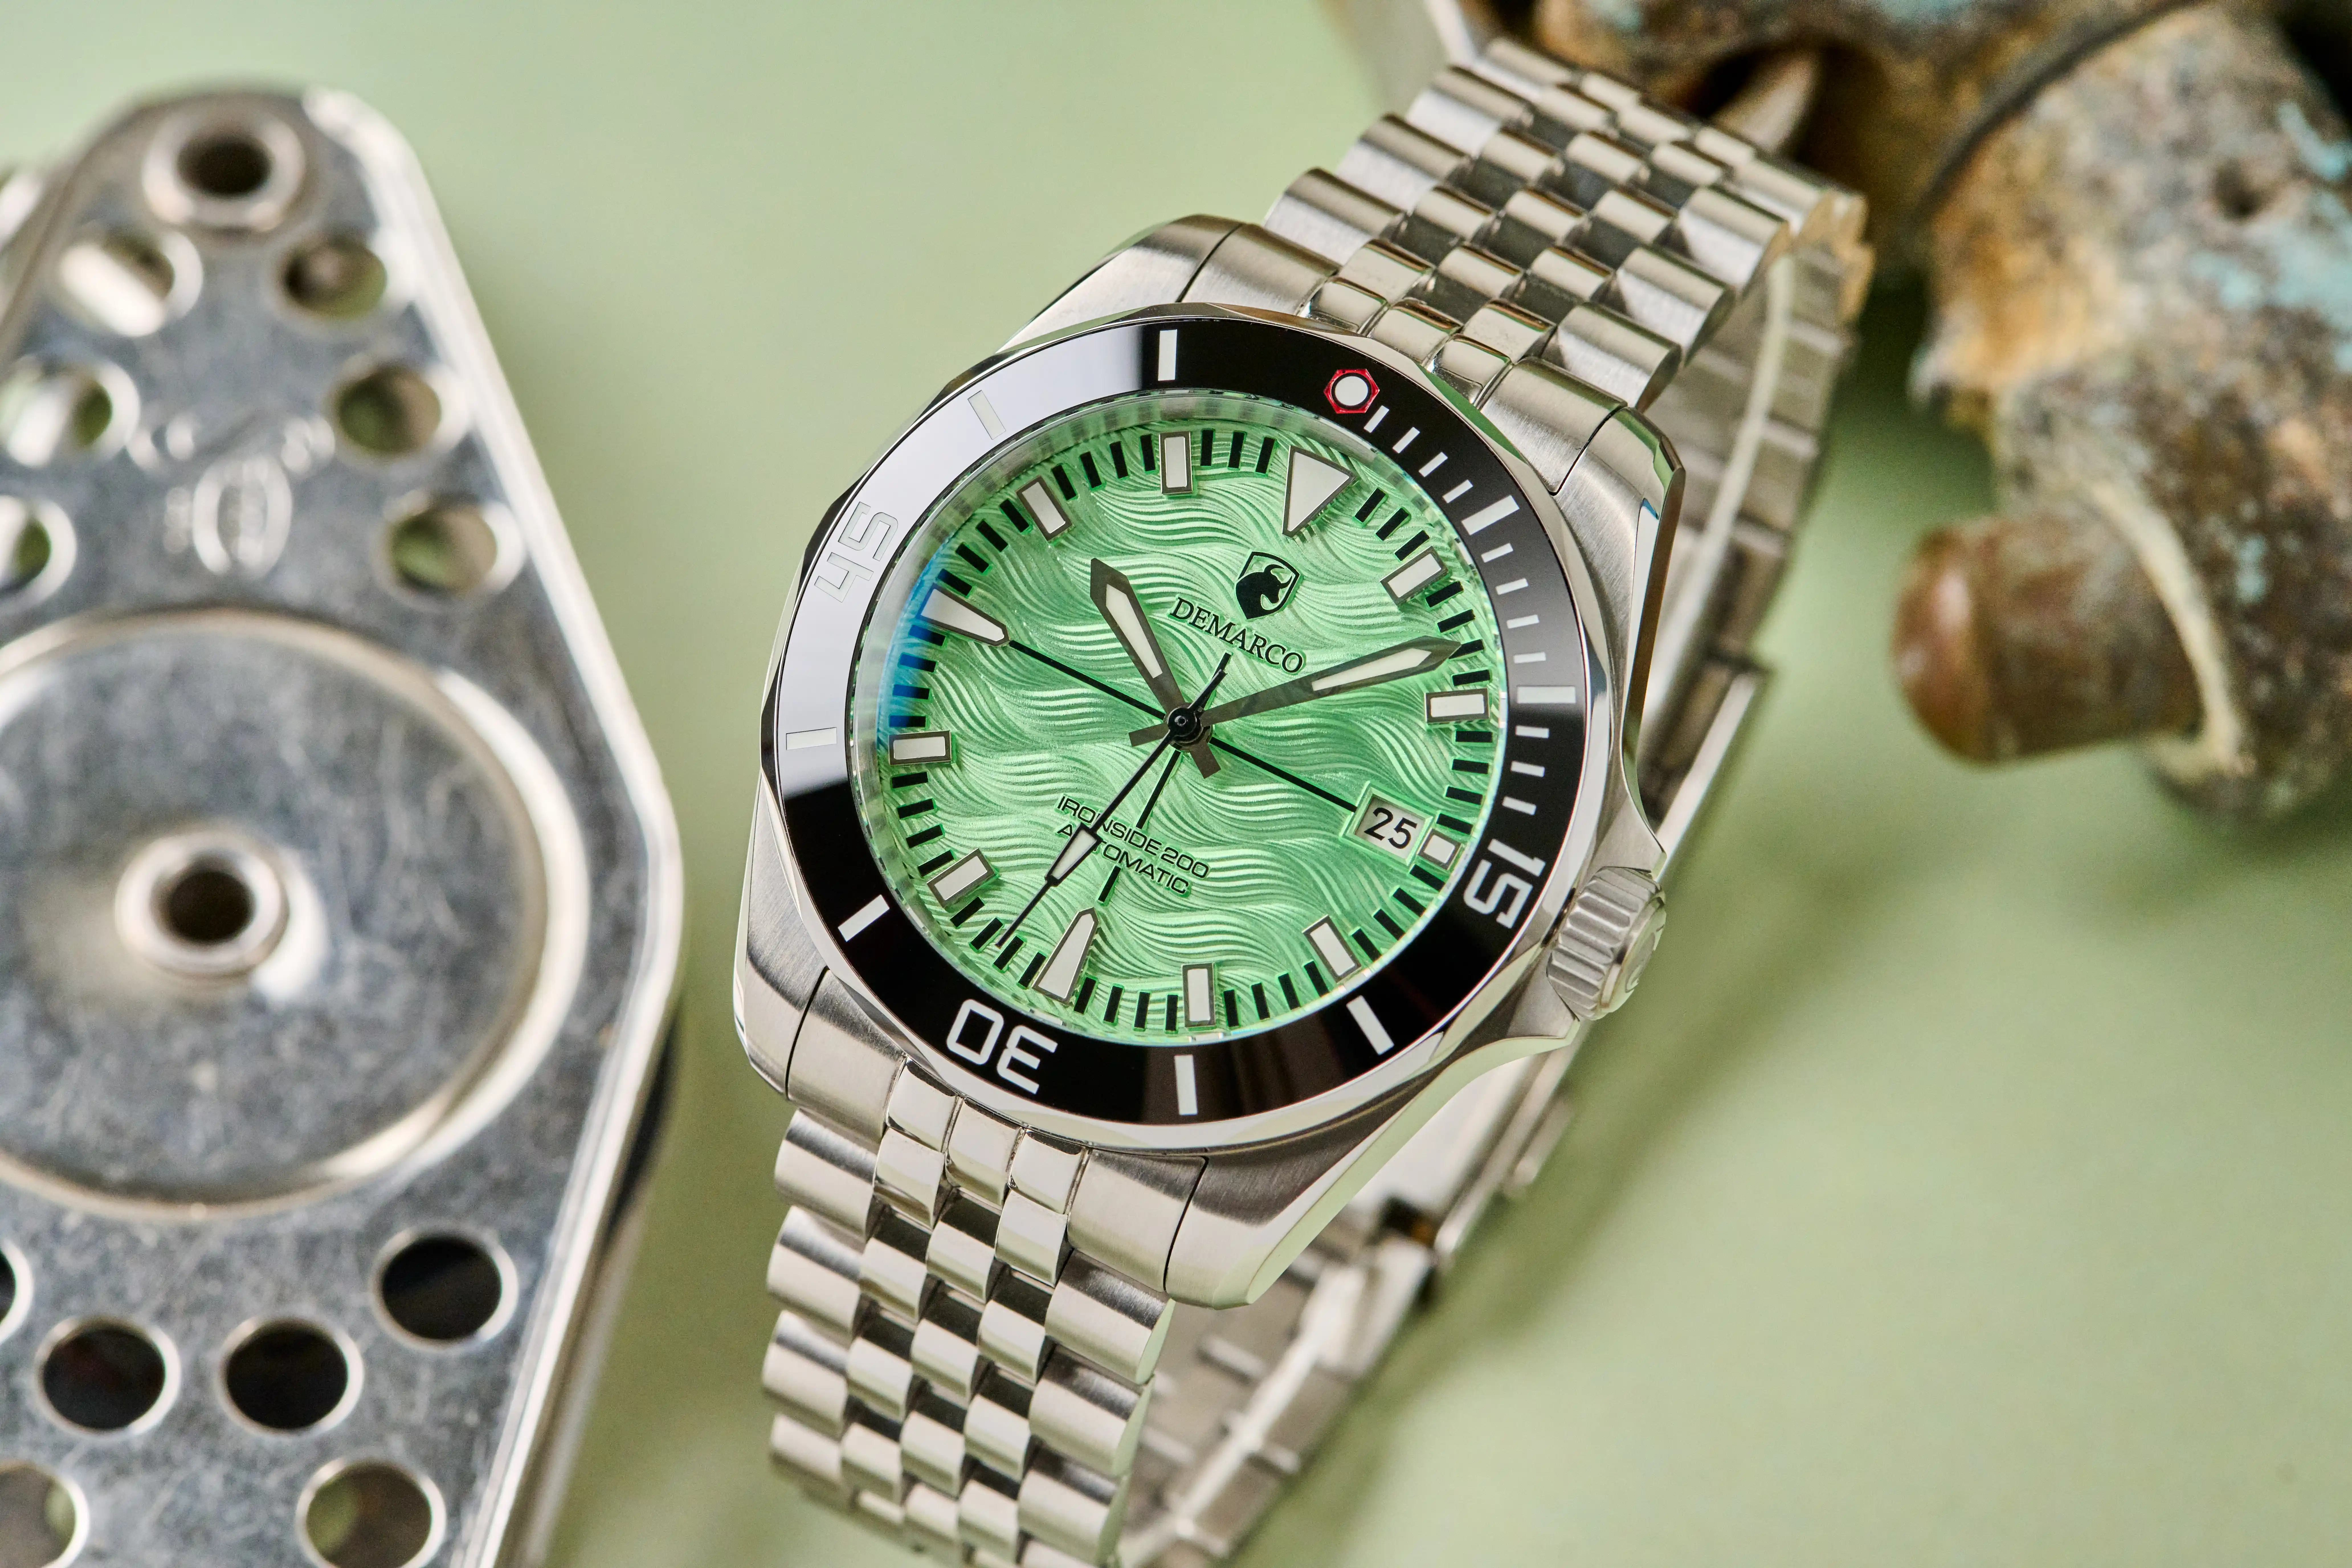



How to fit and set up your Ironside 200
Swapping between the bracelet and the rubber strap, dialling in the fit with the micro adjust clasp, then winding, setting the time and date, and the one step that keeps it waterproof.

We do not ship a paper manual with the Ironside 200, so here is how to get it fitted to your wrist and set up on day one. Mike filmed the whole walkthrough if you would rather watch than read.
Swapping the strap
The Ironside 200 comes with a steel bracelet and a rubber strap, and both are quick release, so you need no tools. Turn the watch over and look where the strap meets the case. On each spring bar there is a small lever. Get a fingernail under it, slide it across, and that end pops straight out. Do the same on the other side and the strap is off. Fitting the other one is the reverse: hook one end of the spring bar into the lug, pull the lever back, line the other end up and let go.
Dialling in the fit
The bracelet clasp has a small pusher on it. Press it and you can slide the bracelet in or out by roughly a link and a half without opening the clasp. Your wrist changes size through the day, so this is the adjustment you will use most. If the bracelet is a long way out, get the links sized first and use the micro adjust for the rest.
It is an automatic, so it needs winding
The Ironside 200 is an automatic mechanical watch. It winds itself while you wear it, and you can also wind it by hand. If your watch arrives and it is not running, there is nothing wrong with it. It simply needs winding.
Turn the crown counterclockwise until it pops out into the winding position, then wind it 20 to 30 times. That is enough to start the second hand moving and to get the watch to roughly three quarters of a full charge.
Setting the time
Pull the crown all the way out to its third position and turn it counterclockwise until the hands read the correct time.
Setting the date
Push the crown all the way back in, then pull it halfway out. Wind the wheel clockwise until the correct date shows in the window.
The one step that keeps it waterproof
Once you have finished setting the time and the date, push the crown all the way in and screw it down until it will not turn any further. If the crown is not fully closed, the watch is not waterproof. It is the most important step on this page, so it is worth checking every time you set it.
Using the dive bezel
Turn the bezel until the marker at the top lines up with the minute hand. From there you can read off five, ten, fifteen, thirty or forty five minutes of elapsed time, however long you are down for. It is the old school mechanical way of timing a dive and it needs no battery.
Any questions
If anything here is unclear, or your watch is doing something this guide does not cover, email us and we will help. For a lot of you this is a first mechanical watch, and we would far rather you asked than guessed.

14 DAY RETURNS

FREE GLOBAL SHIPPING
